
Characterrig · v012Published
 SFUMIAAI and 3D creative pipeline
Pipe 3D · The production pipeline
Organize your 3D production around your files and their dependencies. Connect scenes, share characters and environments across layouts, then track work through to publication.
… across hundreds of layouts
Connect scenes and reuse assets across your shots. In Blender, collections stay linked with Link.
See what is in progress, in review or complete, directly in the pipeline.
Keep your work history and publish the version to pass on to downstream scenes.
The traditional pipeline
From asset to final shot, keep a clear view of scene dependencies, the versions to use and the status of the work.
Find modeling, rigging, layout, animation and rendering scenes in the project canvas. Files remain separate; their connections make the workflow readable even as the number of scenes grows.
Connect a source scene to the scenes that use it. In Blender, this relies on collections linked with Link: a character or environment keeps its connection to its source file. Dependencies stay visible in the pipeline.
Reference the same character and environment across your shot layouts. Each scene keeps its own camera, staging and work while sharing common sources. You avoid recreating an independent asset copy for every shot.
Track progress: to do, in progress, in review, needs revision or complete. Identify scenes awaiting corrections and those ready for the next stage, alongside production tracking.
Keep successive stages of a file and find an earlier version when revisiting a decision. Working versions remain identifiable, without confusing a new experiment with the production version.
Publish the selected version for downstream scenes and artists. Publishing distinguishes ongoing work from the reference version to share: the rig feeds the layouts, then animation and rendering build on the prepared assets.
Your character is used in 200 layouts. You keep working in its rig file, retain your versions and publish the one to hand over. The layouts stay linked to that source: the graph shows what is shared and which scenes depend on it.
Integrations: Blender is the primary workflow. Maya workflows are undergoing qualification; the Cinema 4D bridge is still being qualified for public distribution.
The next step · 3D AI tools
HDRI environments, HDR conversion and mesh generation: new starting points for your scenes and assets.
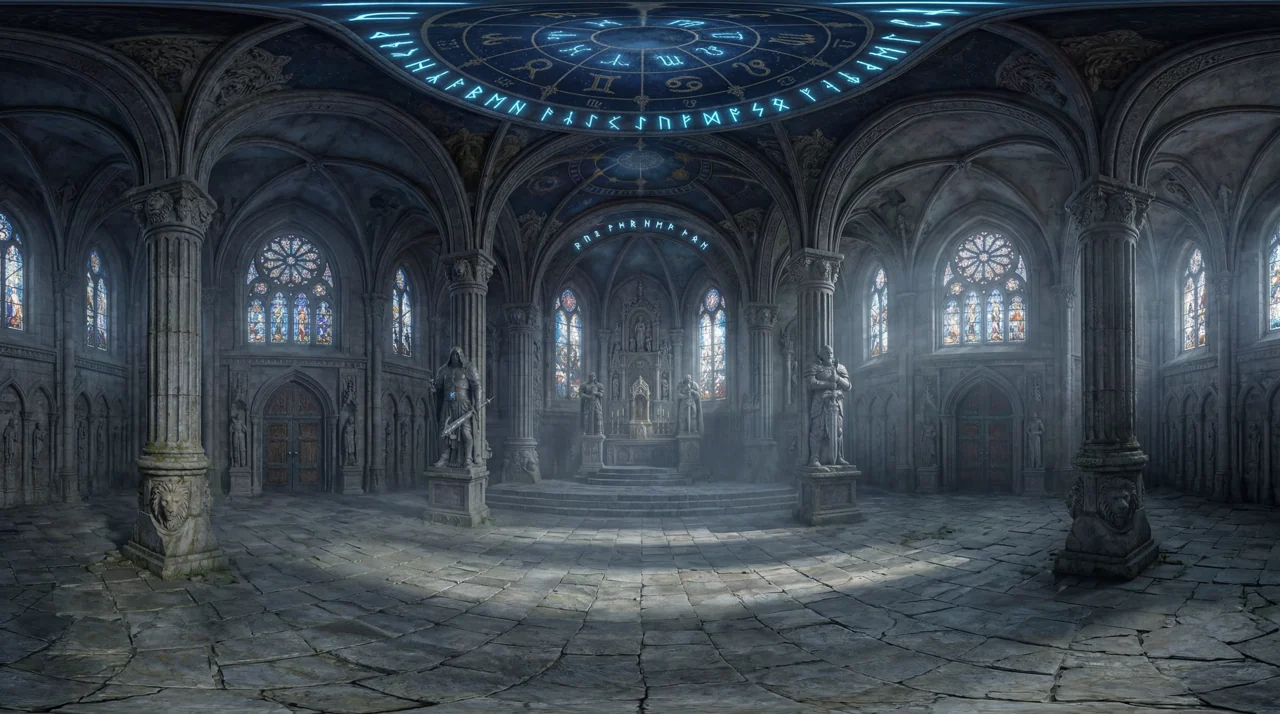
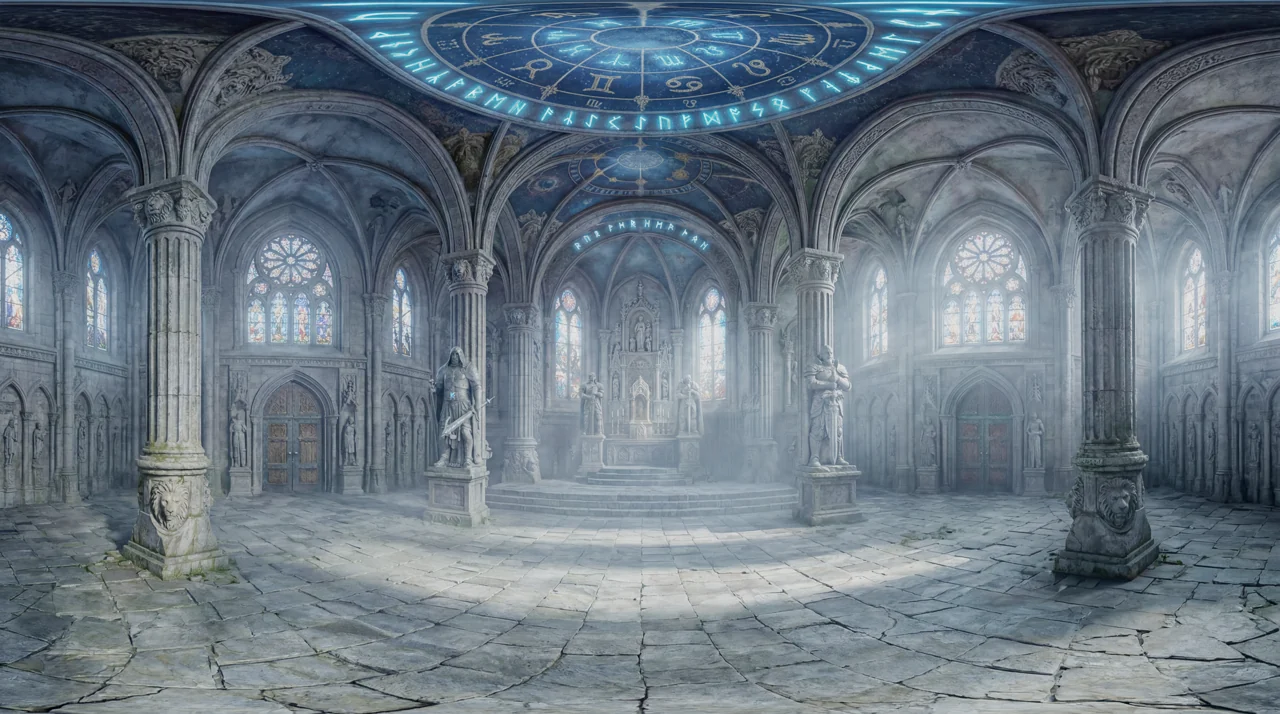
Generate an HDRI environment from a regular image, then convert it from LDR to HDR to prepare the lighting and rendering of your scene.
Turn a reference image into a textured mesh. Bring the asset into your Blender pipeline to refine it, prepare the rig and continue production.

From concept to production
The processes create starting points that you can refine with your production tools.
Start with a regular image to generate your HDRI environment. LDR-to-HDR conversion then extends its brightness range for lighting your scene.
A visual reference becomes a textured mesh. The Heroic bust shown here is the generated model, rendered from several angles. Depending on the shot, you can then refine the geometry, materials and rig in Blender.
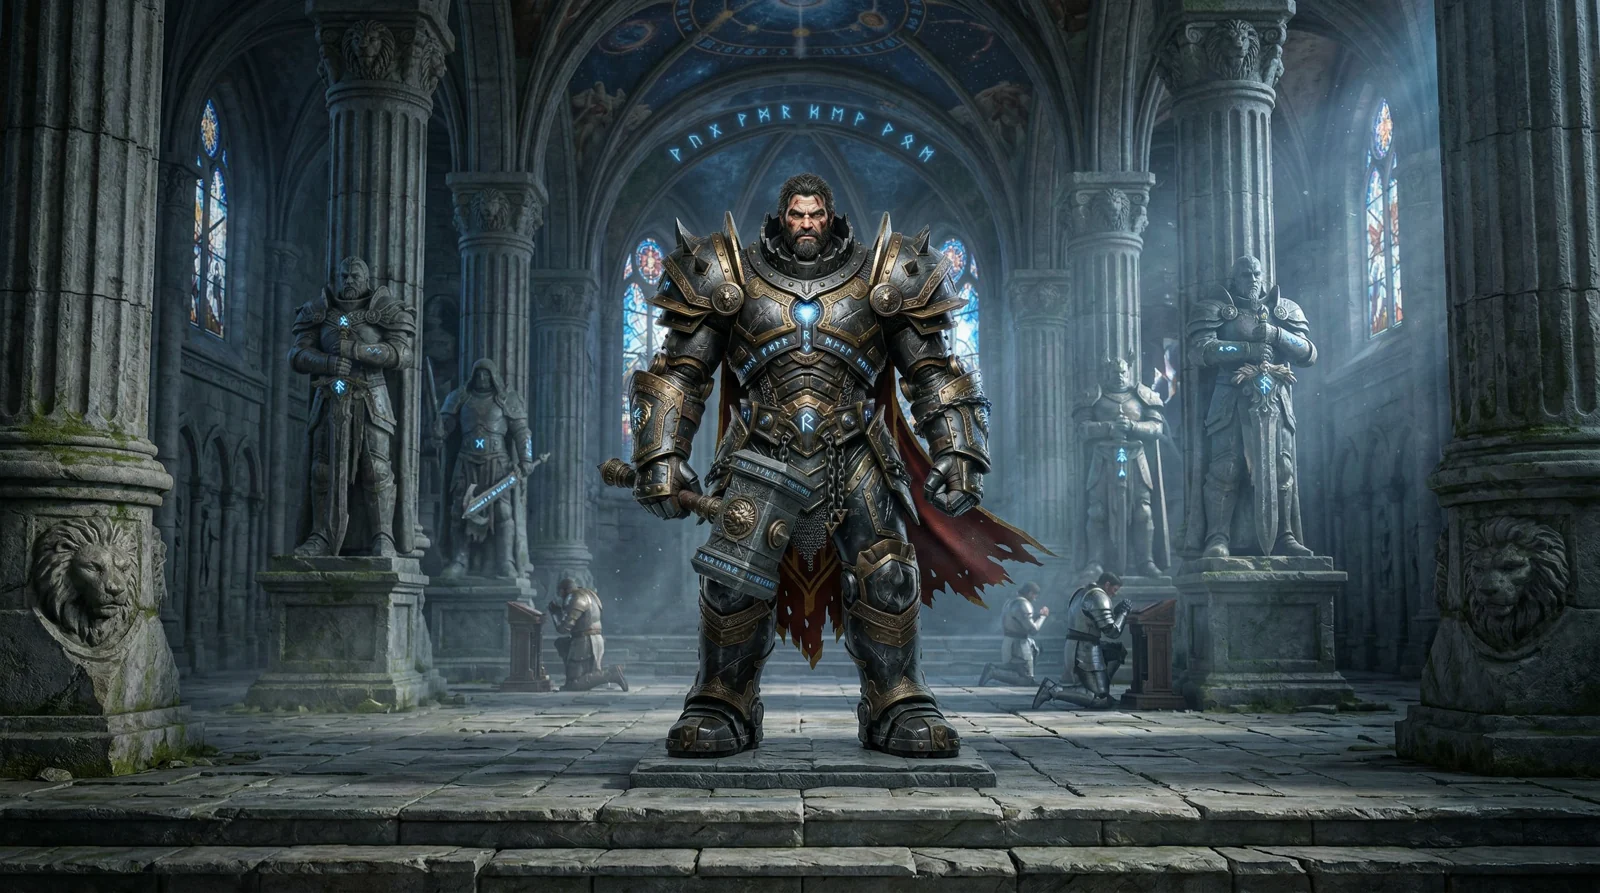
Bring your elements together, adjust composition and lighting, then continue rendering and AI processing in the same project. The final Heroic image illustrates this world; it goes beyond the bust rendered above.
AI processing
Available models depend on your hardware. 3D and HDR processing can require substantial memory and a powerful graphics card. The SFUMIA manager helps you prepare packs and connect to ComfyUI.
Access available models without subscribing to providers. See the price before processing, confirm the media to send and track your budget in ProProd.
Frequently asked questions
Blender is the main supported workflow. Maya workflows are under validation; the Cinema 4D bridge has not yet been validated for public distribution.
It produces an estimate from an LDR image. It does not replace a measured HDR capture. Check the result and adjust its intensity in your scene to achieve your intended look.
It is a starting point. Depending on the model and shot, topology, textures, rigging or skinning may need corrections before animation.
No. You explore pre-rendered views of the actual mesh. The preview keeps its detail without loading the full 3D file.
Pipe 3D
Keep your scenes, references, versions and AI processing in the same project.